
How to Design Outdoor Living Spaces: A Step-by-Step Guide for Illinois Homeowners
Most outdoor living spaces that disappoint do not fail because of the materials. They fail because of the plan. The patio ends up too small for the table, the fire pit sits in the path to the back door, the afternoon sun makes the dining area unusable, or rainwater collects exactly where people want to walk.
This guide walks through how to design outdoor living spaces in a clear order, from deciding how you want to live outside to choosing materials and phasing the work. It is written for homeowners in Aurora, Naperville, Batavia, St. Charles and the surrounding communities, so it includes the Illinois-specific issues that tend to get skipped: freeze-thaw winters, clay-heavy soils, drainage, road salt and permits. If you would rather have a professional plan it with you, our backyard design services in Aurora start with exactly this process.
What an outdoor living space actually is
An outdoor living space is a yard organized into usable "rooms," each with a purpose, instead of one open lawn with a few things placed on it. The University of Delaware Cooperative Extension describes designing a landscape as drawing "outdoor rooms" based on a list of wants and needs, then placing those rooms according to which spaces should sit together or apart and what views each should have.
That framing helps because it turns a vague goal ("make the backyard nicer") into a set of decisions you can make one at a time. The ten steps below follow the same logic.
Step 1: Start with how you want to live outside
Before you look at a single paver or plant, write down how you want to use the space. Be specific about who uses it and when.
- Dining and entertaining. How many people at a typical gathering, and how many on the biggest day of the year?
- Lounging and conversation. Do you want a fire pit, a covered seating area, or both?
- Cooking. A grill and a side table, or a full outdoor kitchen with a counter, sink and refrigeration?
- Kids and pets. Open lawn, a play area, or a fenced section?
- Quiet use. A reading corner, a small garden, or a water feature?
- Maintenance. How much time do you really want to spend on upkeep?
The Delaware factsheet calls this list the "design program" and says it serves as a checklist of features to consider in your design. Keep it. You will use it again in Step 10 when you decide what to build first.
Step 2: Map and analyze your site
The second step is understanding what you are working with. The same factsheet recommends drawing a bird's-eye view of the property with property lines, buildings and existing features at one scale, then marking slopes, wet and dry areas, sunny and shady areas, the direction of water flow and wind, utilities, and good and bad views.
On an Illinois lot, pay particular attention to:
- Where water goes after a heavy rain. Walk the yard during or right after a storm. Note where water pools, where it runs and where it leaves the property.
- How the sun moves. Check the yard in the morning, at midday and in late afternoon. A patio that is perfect at noon may be too hot to use at 5 p.m. in July.
- Existing trees. Mature trees provide shade but have roots that limit where you can excavate.
- Slopes and grade changes. These affect everything from where a patio can sit to whether you need a retaining wall.
- Utilities and easements. Know what is buried before you design around it.
Before anyone digs, a locate request should be made through JULIE, Illinois' one-call service. JULIE says contacting it is free and that Illinois law requires underground utility lines to be marked before you start digging for outdoor planting, building, adding or repair work. You can request a locate by calling 811 or (800) 892-0123, or online. JULIE advises waiting until all lines are marked and digging carefully within the tolerance zone, because marks are approximate.
Step 3: Divide the yard into zones
Once you know what you want and what you have, sketch simple circles or "bubbles" on your map for each use: dining, lounge, fire, cooking, play, planting, storage. The Delaware factsheet recommends sizing these using typical space dimensions and placing them by considering which spaces should be near each other.
Some practical pairings:
- Cooking next to dining, and both close to the kitchen door. Carrying food across a yard is a daily annoyance.
- Fire pit away from the grill and the house, with enough space around it for seating and for people to move. Local fire rules and distances vary, so confirm them with your city or village before you finalize the location.
- Play areas where you can see them from where adults sit.
- Quiet spaces farthest from the noisiest ones.
A few planning rules of thumb designers commonly use, which are not code requirements and should be checked against your actual furniture: allow roughly three feet of clearance behind dining chairs so people can sit and stand, and plan main walking paths wide enough for two people to pass. Measure your furniture first, then size the space around it. A patio sized to the table alone feels cramped the first time guests arrive.
Step 4: Plan how people move through the space
Circulation is the most overlooked part of outdoor design. Draw arrows for how people will move between the house, the patio, the fire pit, the grill and the yard.
The Delaware factsheet suggests connecting walkways to spaces at right angles and overlapping connected shapes by at least one-third of their edges, so paths feel like natural connections and not afterthoughts. In practice, that means:
- Avoid forcing guests to walk through the dining area to reach the fire pit.
- Keep a clear path from the house to each major zone.
- Think about steps and grade changes, which affect safety, accessibility and snow and ice management in winter.
- Connect the front and back of the property if you want a continuous feel, using a walkway designed to match the patio. See our brick paving services for how we approach walkways and steps.
Step 5: Design for sun, shade, wind and privacy
Comfort decides whether a space gets used. The Delaware factsheet recommends designing for shade for summer comfort, maximizing sun during cold seasons, and placing windbreaks, and it notes that deciduous trees on the south side can provide summer cooling and winter insulation.
In northern Illinois, that translates to a few practical choices:
- Seating that gets afternoon shade. A pergola, an umbrella, a shade tree or a structure on the west side can make the difference between a patio that is used in July and one that is not.
- Wind protection for fire pits and dining areas, using walls, hedges or structures.
- Privacy from neighbors or a busy street, using fencing, screening plants or seat walls.
- Winter sun. Spaces that catch low winter sun are more usable in the shoulder seasons, which are long in Illinois.
Step 6: Solve drainage before you design anything else
Drainage is the most important and least glamorous part of any outdoor living plan. A beautiful patio built where water collects will not stay beautiful.
The Delaware factsheet advises marking water movement in the site analysis, setting on-site stormwater management as a goal, using rain gardens to let water soak into the soil, and limiting impermeable surfaces, possibly with permeable paving. The Concrete Masonry & Hardscapes Association notes that permeable interlocking concrete pavers can capture, filter and detain water, which can help properties meet stormwater requirements, though that is a trade association describing its own product category, so ask any contractor whether permeable paving is appropriate for your soil.
For ordinary paver surfaces, the CMHA technical note on paver construction says pavement slopes should be a minimum of 1.5%, and that perforated 4-inch subgrade drain pipe is recommended in clay or other slow-draining soils subject to vehicular traffic. The point for your plan is the same either way: decide where water will go before you decide where the patio goes. A good designer will grade the surface so water moves away from the house and does not push onto a neighbor's property.
Step 7: Choose materials and structure with the climate in mind
Illinois winters put outdoor surfaces through repeated freezing and thawing. That makes the structure under the surface more important than the surface itself.
For paver patios and walkways, industry guidance is specific. The CMHA technical note says patios and pedestrian areas need a minimum compacted base thickness of 4 inches over well-drained soils, residential driveways need at least 6 inches, and edges need a restraint in contact with the side of the paver. The CMHA guide specification recommends compacting the subgrade and aggregate base to at least 98% standard Proctor density for pedestrian areas and residential driveways, and says not to use bedding sand to fill depressions in the base and not to install sand and pavers over frozen base materials.
You will not see any of this in the finished space, which is why it is worth asking about. We cover what to ask in our guide to choosing a landscaping company near you.
When you choose a surface, consider:
- How it handles ground movement. Interlocking pavers are built to shift slightly with the ground. The CMHA says pavers can be lifted and reset when settling happens, though note again that this is a trade group describing its own product, so treat the claim as one perspective and ask a contractor to explain their repair approach.
- Slip resistance and heat. Surfaces that stay cooler and drier are more comfortable in summer and safer in winter.
- Matching. Walkways, patios, steps and walls should feel like one design.
- Maintenance. Sealing and cleaning needs differ by material.
Our patio installation page and driveway and patio services page explain what we build and how.
Step 8: Choose plants for the site, not just the picture
Plants soften hardscape and create privacy and shade, but they are also the part most often chosen without considering the site. The Morton Arboretum's guidance on choosing trees is a good model for any planting: pick the right plant for the right place.
Specifically, the Arboretum advises considering:
- Mature size. A tree that outgrows its space will one day become a maintenance problem.
- Light. Whether the site gets sun, shade or both.
- Soil. Whether it drains well or puddles, and whether it is alkaline or acidic. The Arboretum notes that most soils in northern Illinois are alkaline.
- Site problems. Including road salt near roads and driveways and very dry soil on slopes or berms.
- Appearance. Evergreen or deciduous, and spring flowers or fall color, since most trees do not offer both.
- Native status, if that matters to you.
For plant selection beyond trees, the Arboretum offers an online plant search tool and a Plant Clinic you can contact. Keep trees and large shrubs far enough from patios and walls that roots and canopies will not cause damage as they grow.
Step 9: Add the features that make it feel like a room
With the structure and layout settled, add the features that define each zone.
- Fire features. A fire pit or fire table is often the center of an evening space. Confirm local fire rules and required clearances before you finalize the location.
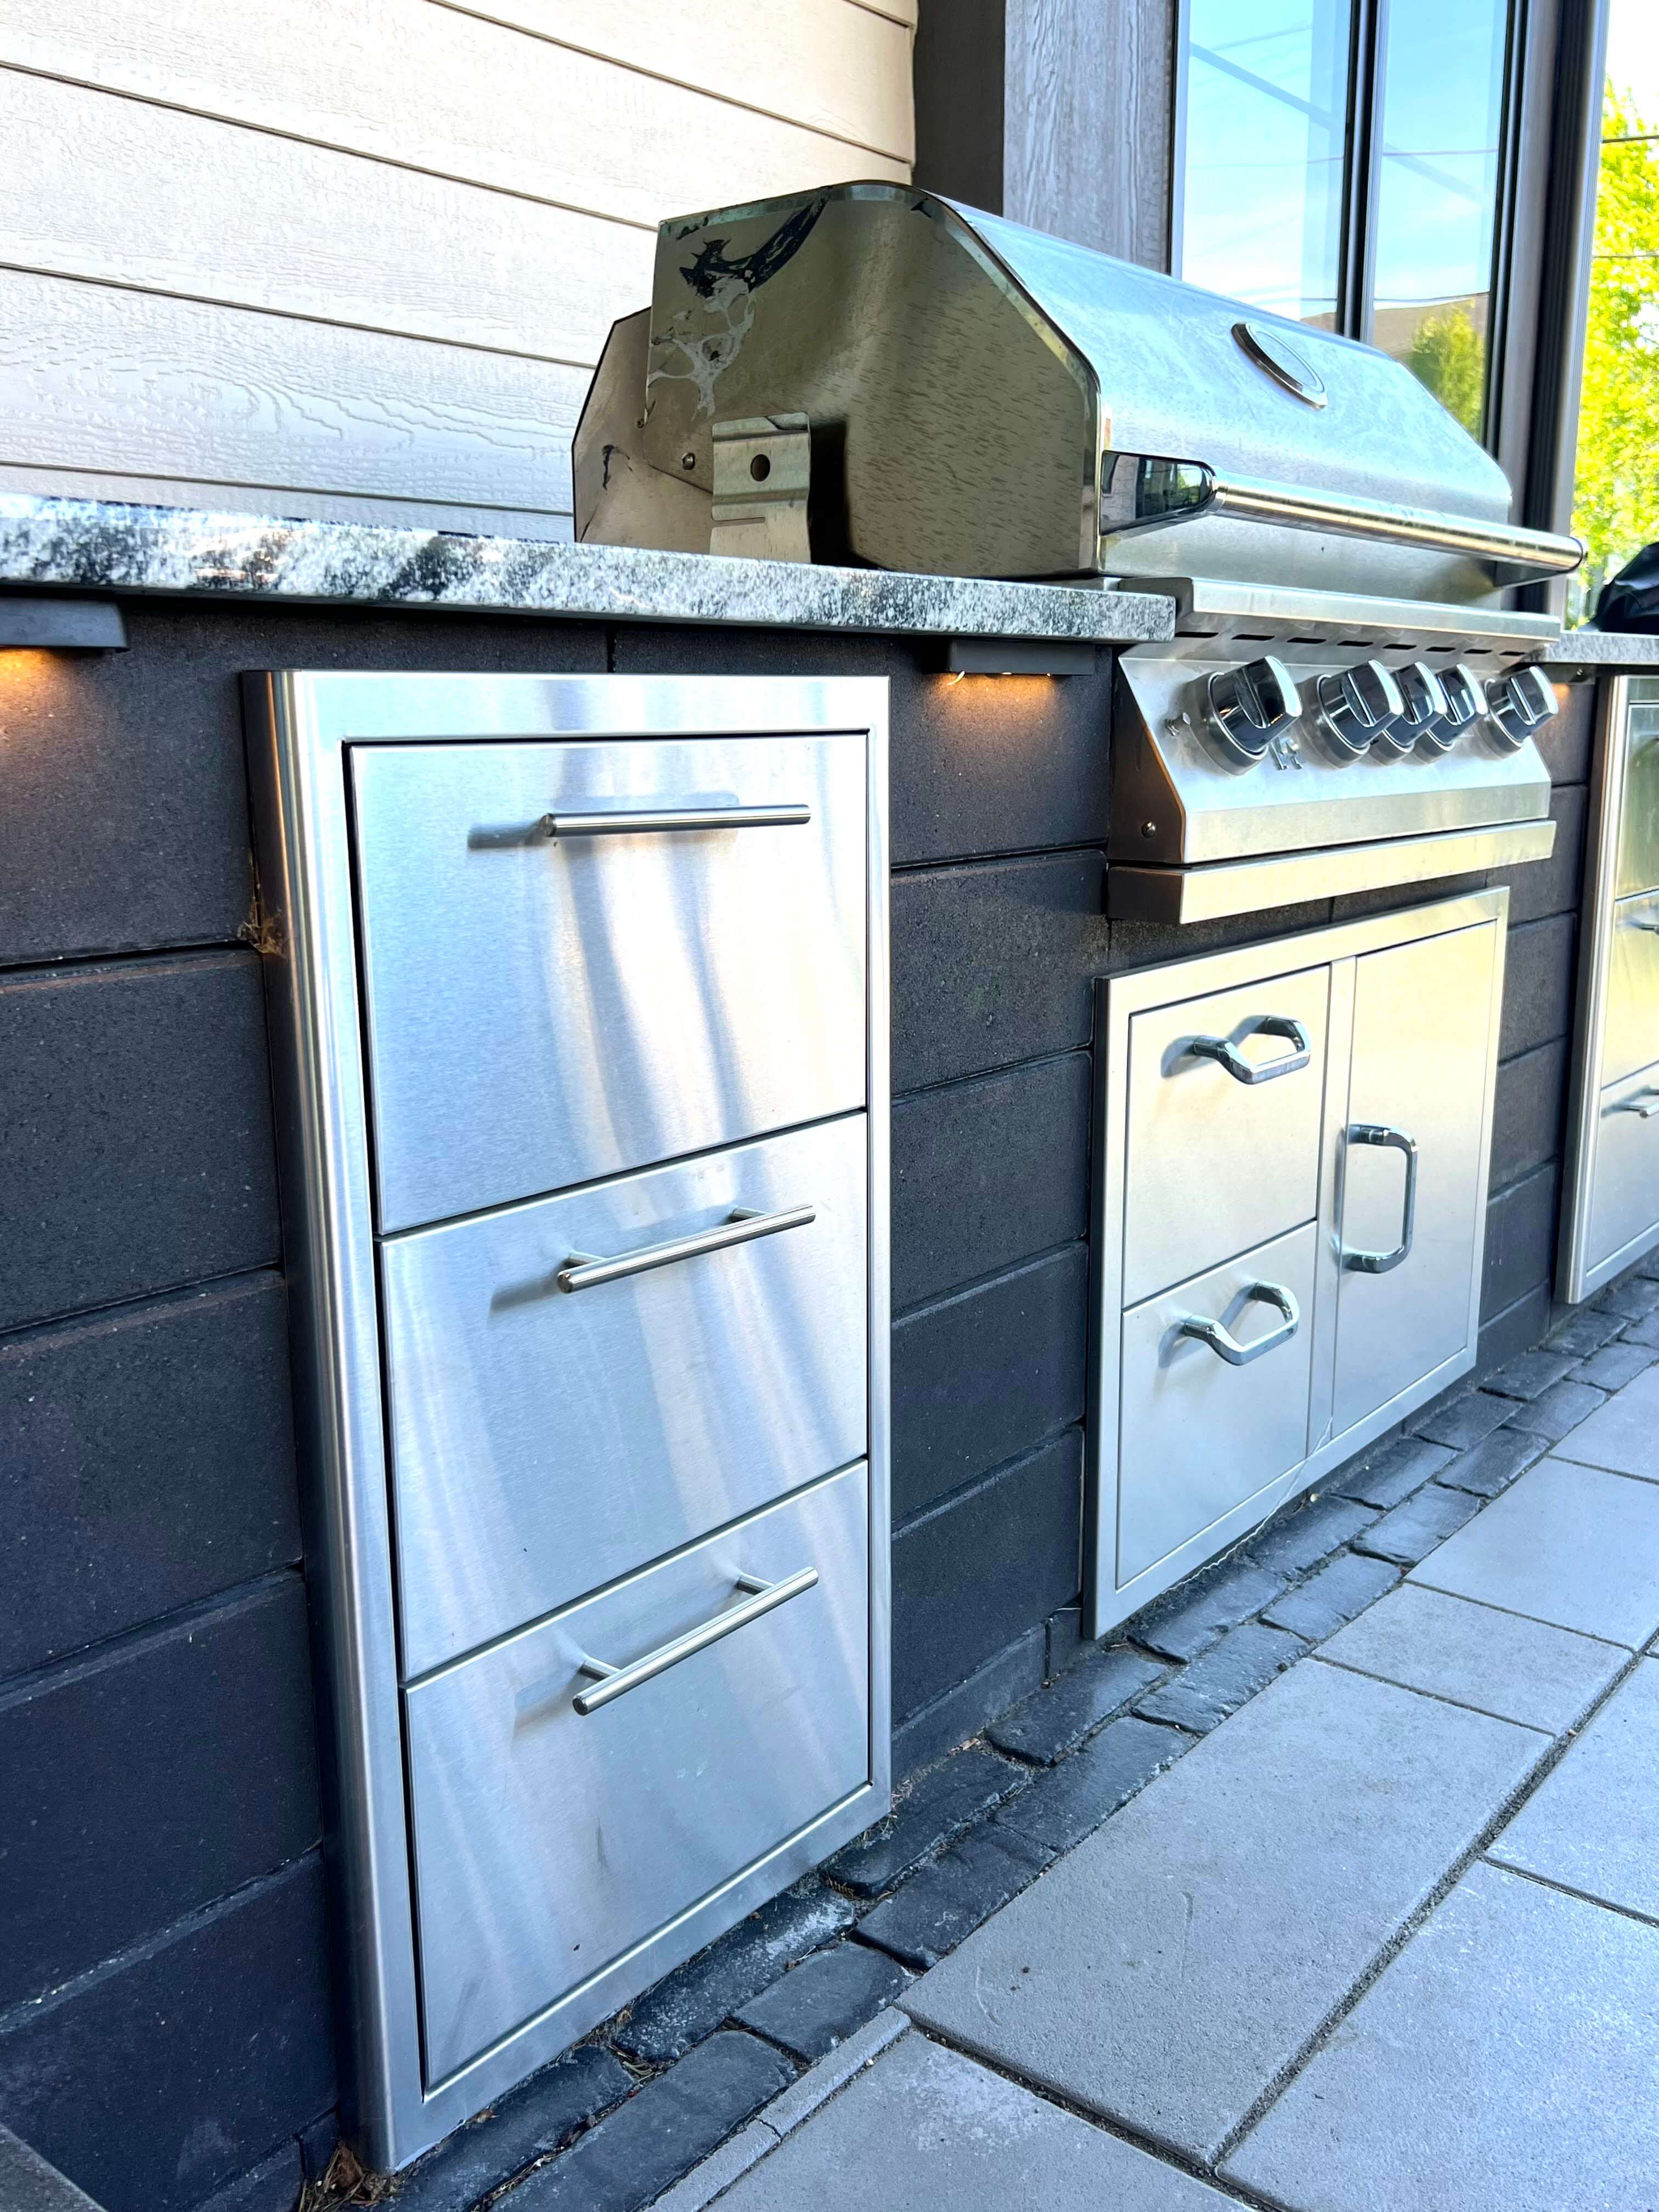
- Outdoor kitchens. A grill with counter space is the simplest version. Anything with gas, electrical or plumbing may require permits and licensed trades, so plan for that early.
- Seat walls and steps. Low walls double as seating and can define the edge of a patio.
- Lighting. Low-voltage lighting along paths, steps and walls extends usable hours and improves safety.
- Shade structures. Pergolas, umbrellas or covered areas for hot afternoons.
- Water features. A small water feature adds sound that can soften neighborhood noise.
Permits are worth planning for. As one example, the City of Naperville requires a permit for patios over 500 square feet, and for any size patio with a permanent fire pit, fireplace or grill, among other conditions, while the City of St. Charles requires a building permit for any outdoor patio. Every city and village differs, so check with yours. Our guides for Naperville, St. Charles and Batavia cover what we know about those communities.
Step 10: Set a budget and phase the work
Few homeowners build everything at once, and they do not need to. The Delaware factsheet lists cost as a factor in choosing materials and advises implementing a design in stages, making adjustments as necessary.
The key to phasing is to design the whole space first and build it in order. A sensible sequence usually looks like this:
- Drainage, grading and utilities. The invisible work that everything else depends on.
- Primary hardscape. The main patio and the paths that connect it to the house.
- Structures and walls. Seat walls, retaining walls and steps.
- Kitchens and fire features. Once the layout is proven.
- Lighting. Ideally wired during construction so you do not have to disturb finished surfaces.
- Planting. Often last, so that construction does not damage it.
Phasing a project this way prevents the most expensive mistake in outdoor design: building one piece that has to be torn up to build the next.
Common mistakes to avoid
- Designing the patio before the drainage. Water always wins.
- Making the main patio too small. Furniture, traffic and people all need room.
- Ignoring the sun. Orientation decides comfort.
- Putting the fire pit and the grill in the same corner. Sparks, smoke and space all collide.
- Choosing plants for how they look in the pot. Mature size and site conditions decide whether they thrive.
- Skipping the utility locate. Call 811 before anyone digs.
- Choosing on price alone. A low quote often leaves out the base preparation that determines how long the work lasts.
Design ideas by type of yard
Small or narrow yards. Use one multi-purpose patio instead of several small zones, define edges with seat walls or planting beds, and use vertical elements such as screens and climbing plants for privacy.
Sloped yards. Slopes are an opportunity. Terracing with retaining walls can create flat, usable levels, and steps can connect them. See our guide to a retaining wall along a driveway for how walls handle drainage and loads.
Large, open yards. Break the space into distinct rooms with paths, plantings and changes in level so it does not feel like a single empty lawn.
New construction lots. Compacted, shade-free soil and no mature trees mean you can design from scratch, but you also need to plan for shade, privacy and soil improvement from day one.
When to bring in a professional
You can do the first four steps yourself. Many homeowners bring in a designer or contractor for drainage, base construction and anything involving walls, gas, electrical or permits, because those are the areas where mistakes are expensive and hard to see.
If you want help, GoldLeaf Landscape | Hardscape designs and builds outdoor living spaces across the Aurora area, including Aurora, Naperville, Batavia, St. Charles, Oswego, Sugar Grove and Plainfield. Every project is backed by a 5-year workmanship warranty. You can see completed work on our projects page, read reviews, learn more about us, or contact us at 630-270-4324 to schedule a walk-through. Our office hours are Monday through Friday, 8 a.m. to 4 p.m.
Frequently asked questions
How do I start designing an outdoor living space? Start by listing how you want to use the space and who will use it, then map your yard's slopes, sun, shade, drainage and utilities. Divide the yard into zones for dining, lounging, cooking and other uses, plan how people will move between them, and only then choose materials and features.
What are the main elements of an outdoor living space? Most outdoor living spaces combine a hard surface such as a patio, defined zones for dining and lounging, a focal feature such as a fire pit or outdoor kitchen, plantings for shade and privacy, lighting, and drainage that moves water away from the house.
How big should a patio be? Size it around your furniture and your largest typical gathering, not the smallest version of the project. Measure the table and chairs, leave room for people to pull chairs out and walk around, and plan zones for other uses so the patio does not have to do everything.
What should I design first, the patio or the drainage? Drainage. Decide where water will go before you decide where the patio sits. A good plan grades surfaces so water moves away from the house and does not collect under or beside the patio.
Do I need a permit to build a patio or outdoor kitchen? It depends on your city or village and on the project. Some communities require a permit for patios over a certain size or with features like a permanent fire pit, grill, gas, electrical or plumbing, and some require one for any patio. Check with your local building department before work begins.
Should I build everything at once or in phases? Either can work if you design the whole space first. Phasing lets you spread the cost, but the sequence matters: drainage, grading and utilities first, then main hardscape, then walls and structures, then kitchens and fire features, then lighting and planting.
What plants work best around a patio in Illinois? Choose plants for the site: mature size, light, soil drainage and soil chemistry. The Morton Arboretum notes that most soils in northern Illinois are alkaline and that road salt near driveways can be a problem, so match plants to those conditions and keep large trees and shrubs far enough from hard surfaces for their roots and canopies.
Does GoldLeaf design outdoor living spaces? Yes. GoldLeaf Landscape | Hardscape designs and builds patios, walkways, retaining walls, fire pit areas and complete backyard layouts in Aurora and nearby communities, with a 5-year workmanship warranty. Call 630-270-4324 to schedule a walk-through.
Get Your Free Consultation on your outdoor living project
Contact GoldLeaf Landscape for your properties luxury outdoor living project.